
Adding a product
Products are added from the Products tab of a project. You can create a new one, or link a product your company already has.
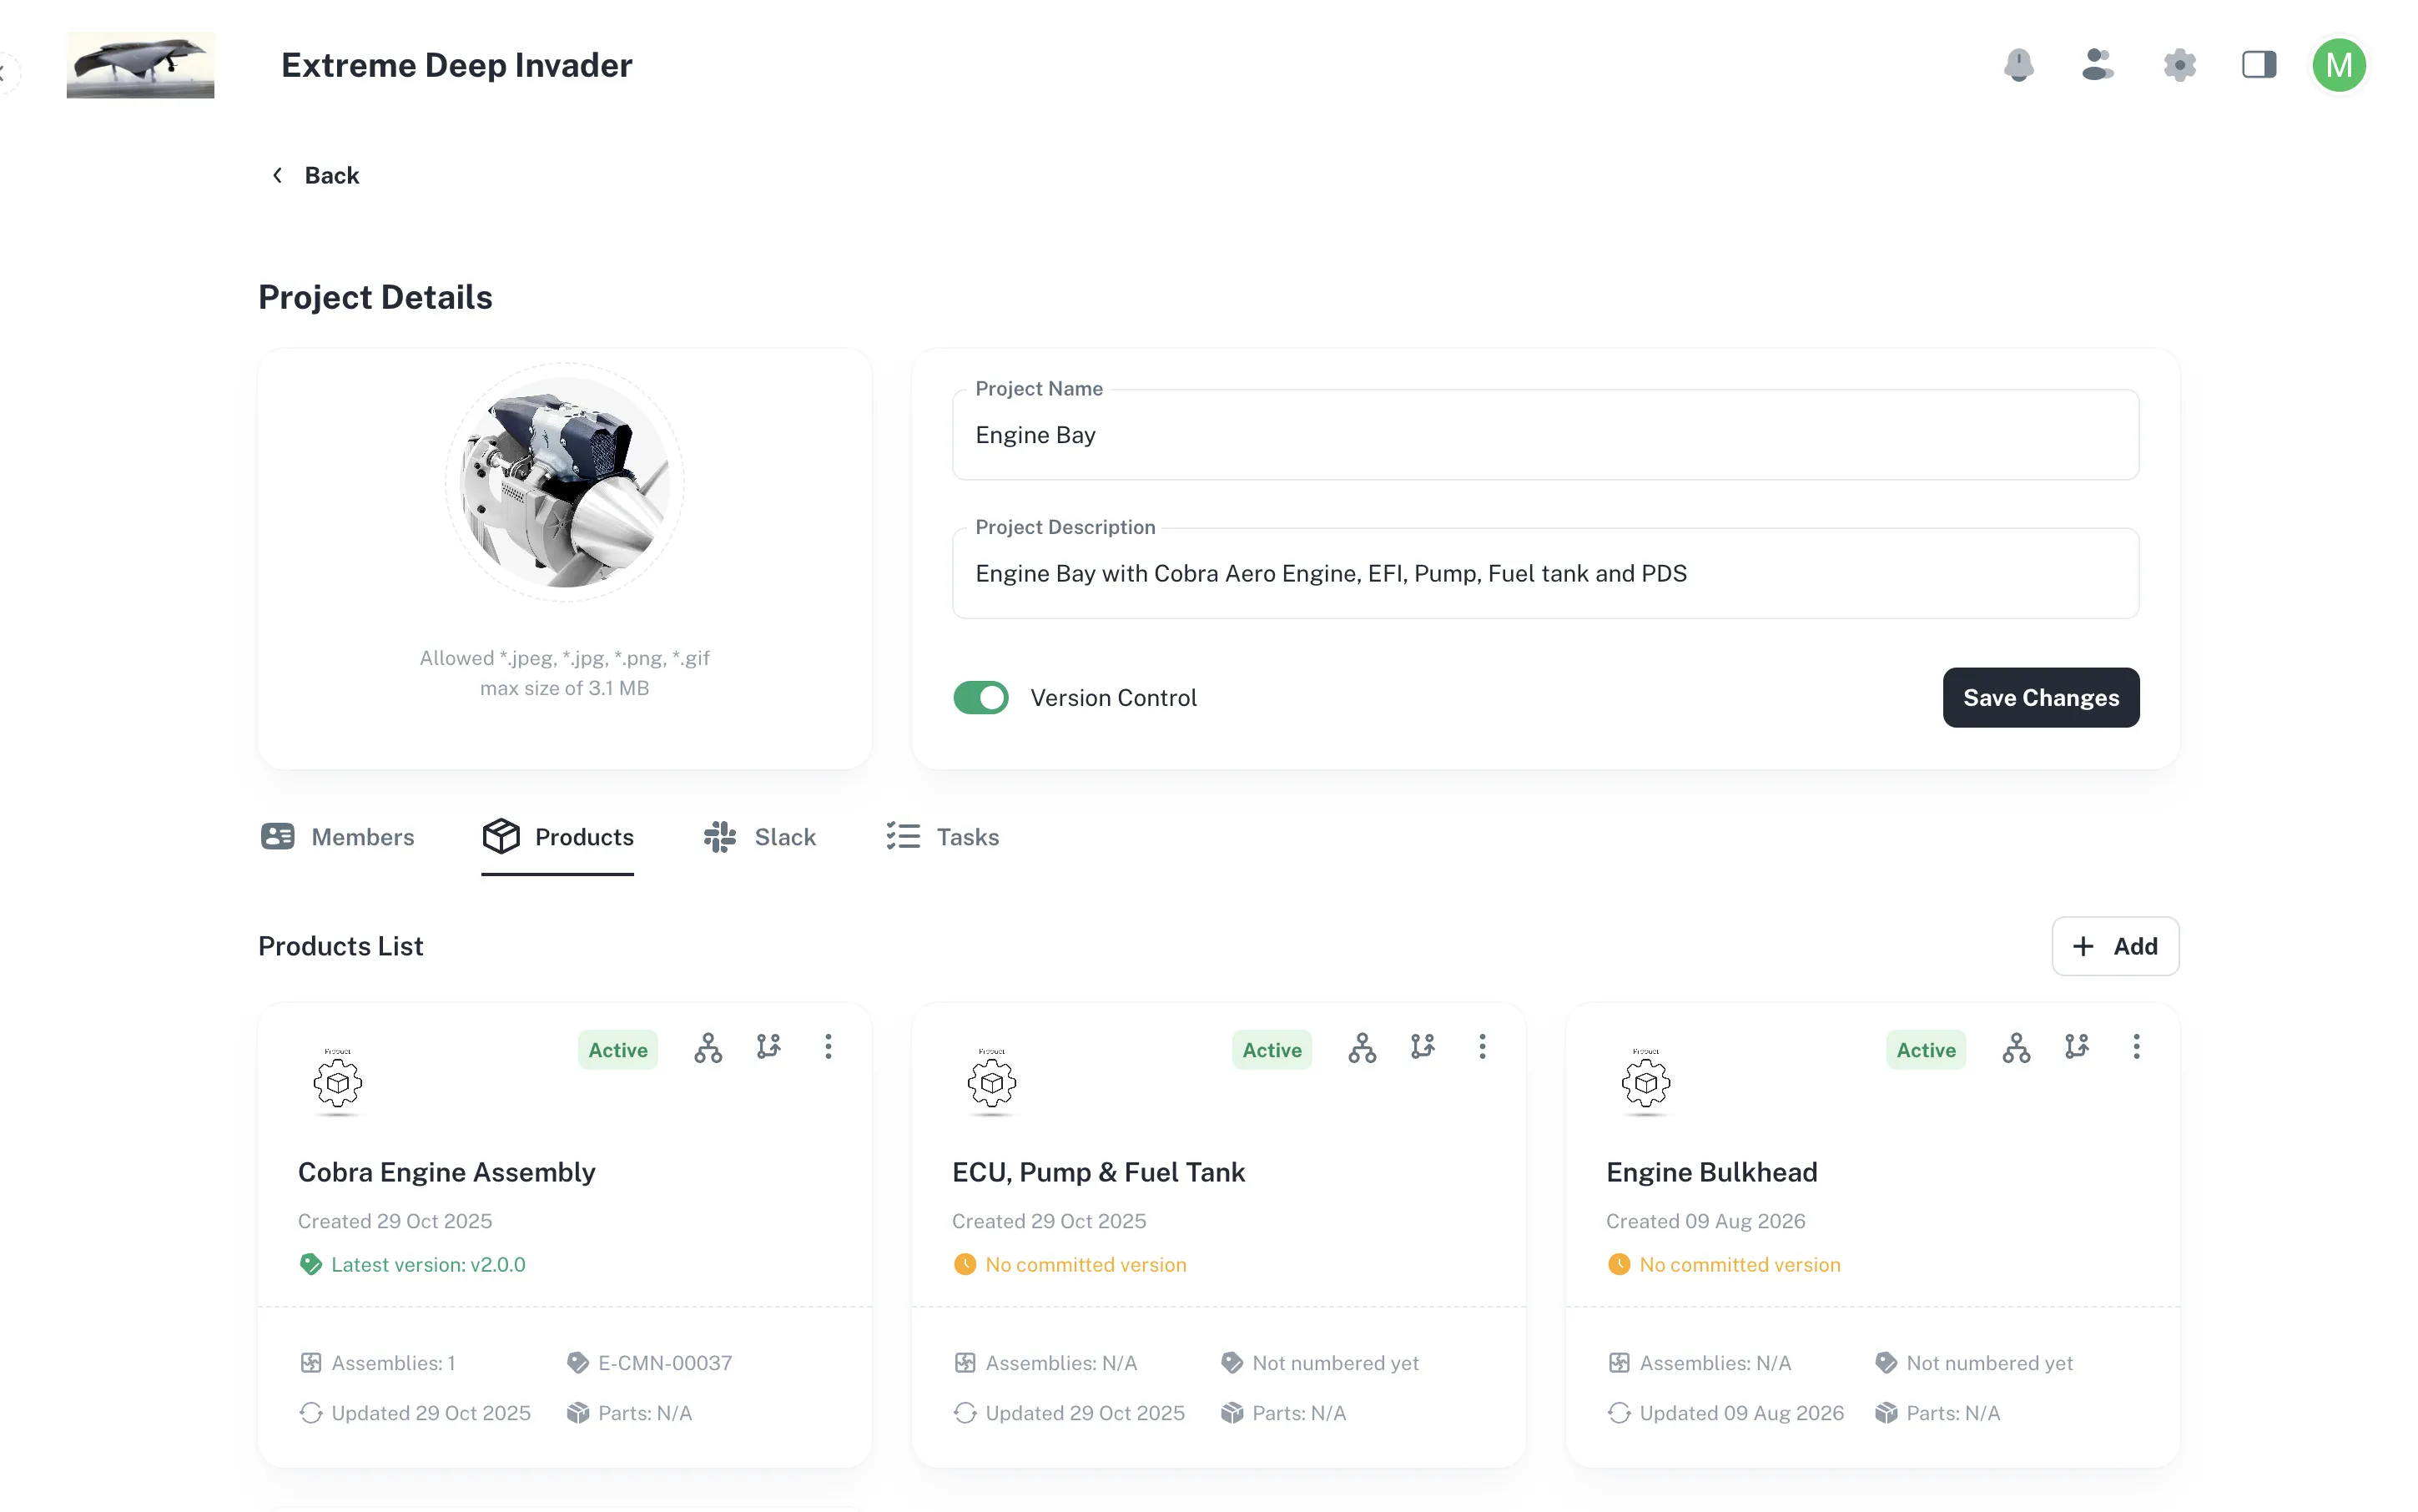
Create a new product
Use this when you are starting a new product, with its own BOM.
- Open the project and go to the Products tab.
- Select Add.
- Keep the mode on Create.
- Give it a name and a one-line summary. The summary appears wherever the product is listed, so make it useful at a glance.
- Optionally pick a numbering subcategory. This decides which family of part numbers it will be given.
- Select Add.
The product is created at version 0.1.0 as a draft, with an empty BOM waiting in its Staging Area.
Numbering can wait
If you leave numbering blank, Partix asks you to choose one the first time you commit. Nothing is lost by deciding later.
Link an existing product
Use this when the product already exists elsewhere in your company and this project needs to work on it too.
- Select Add, then switch the mode to Link.
- Pick the product from the list. Only products this project does not already have are shown.
- Select Add.
Linked products are marked with a Linked label in the list.
A link is not a copy
The linked product is the same product, not a duplicate. Editing its BOM from this project changes it for every project that uses it. If you need a separate variant, create a new product instead.
Opening a product's BOM
Each product in the list gives you two ways in:
- The Staging Area icon opens the working draft, where you build.
- View Committed Product opens the released record.
Which one you want is covered next in Staging and Committed.
Why there is no 'new version' button
Versions and revisions are created by committing, which already asks you to choose between them for each item. Adding a second way to create them by hand would let the two go out of step, so there is not one.